Connecting PrintNode
Connecting your PrintNode account with ChannelDock is a straightforward process that can be completed in just a few minutes.
Before you connect PrintNode:
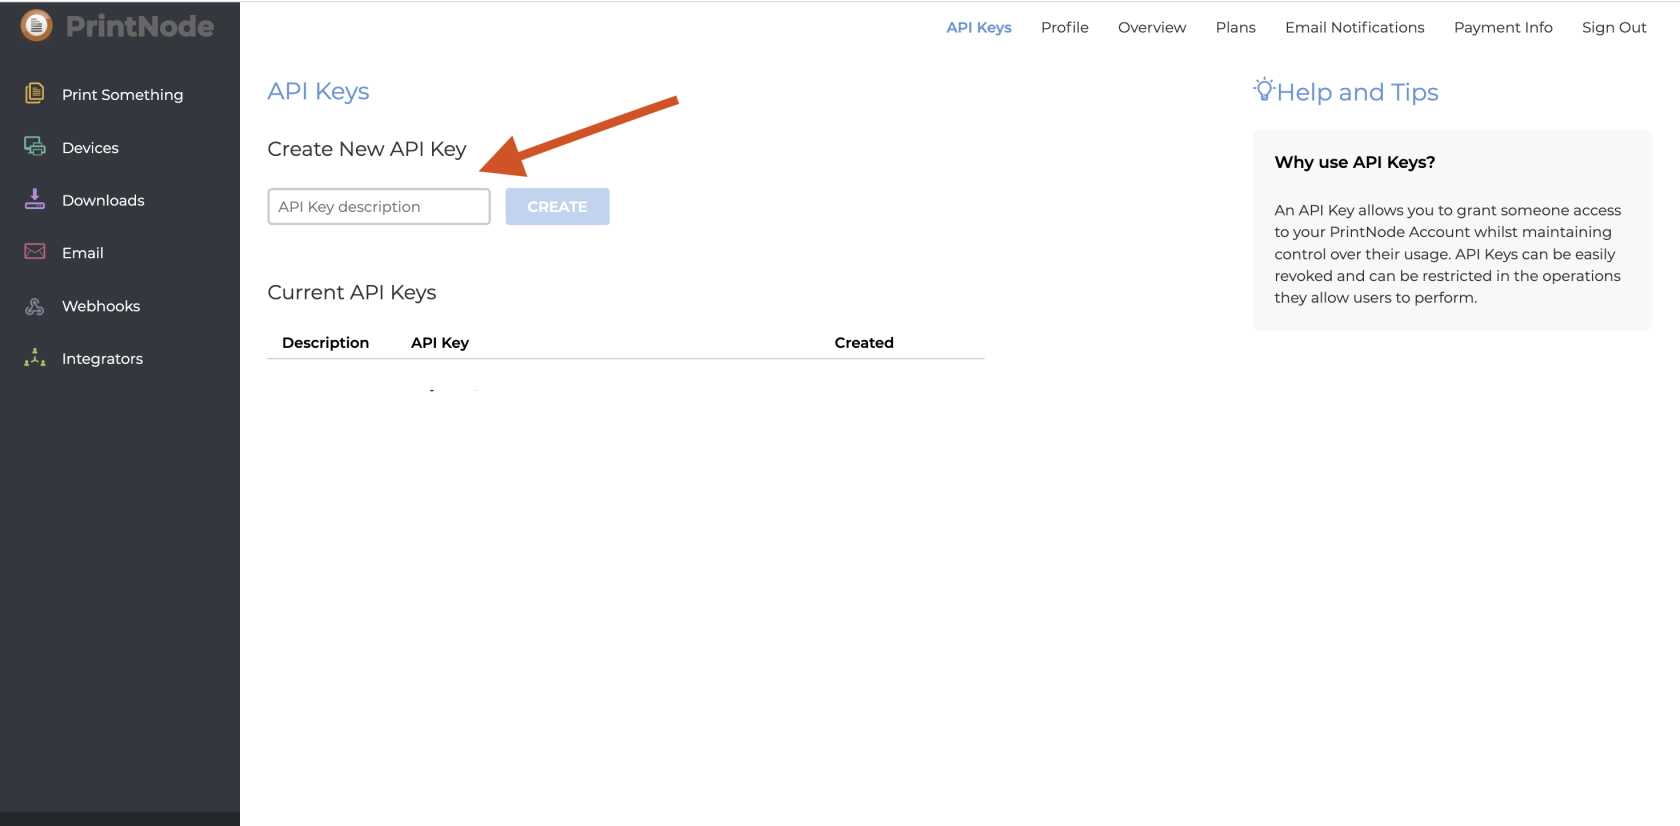
1. You need to log in to your PrintNode account and generate an API key.
2. Type in your API key description then click 'Create'.
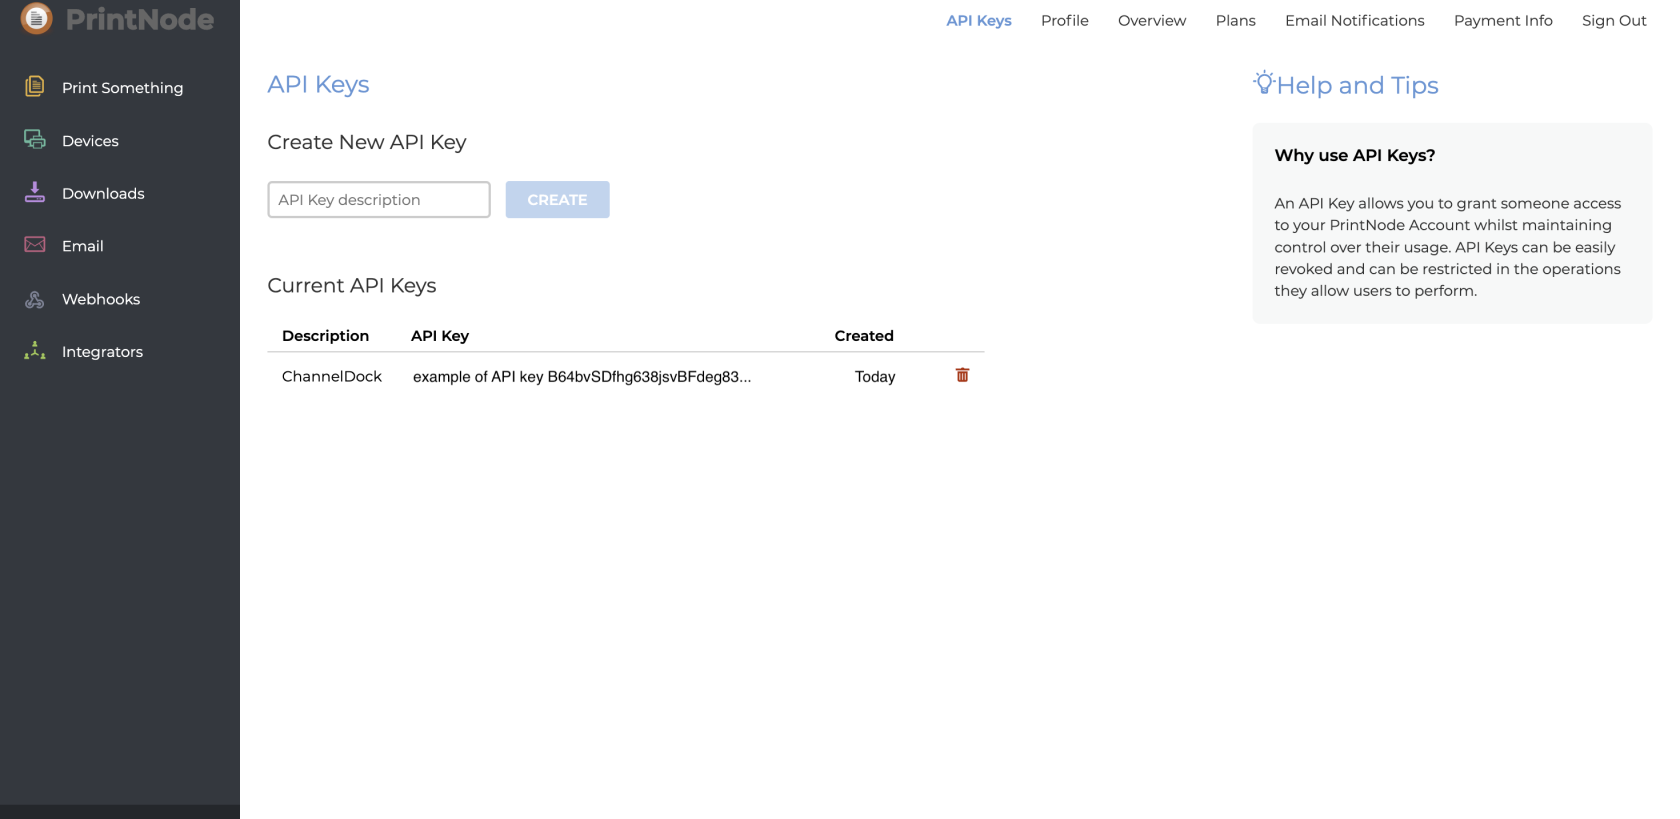
3. Your API key will displayed bellow.
For additional details on API key creation and management, refer to the PrintNode website.
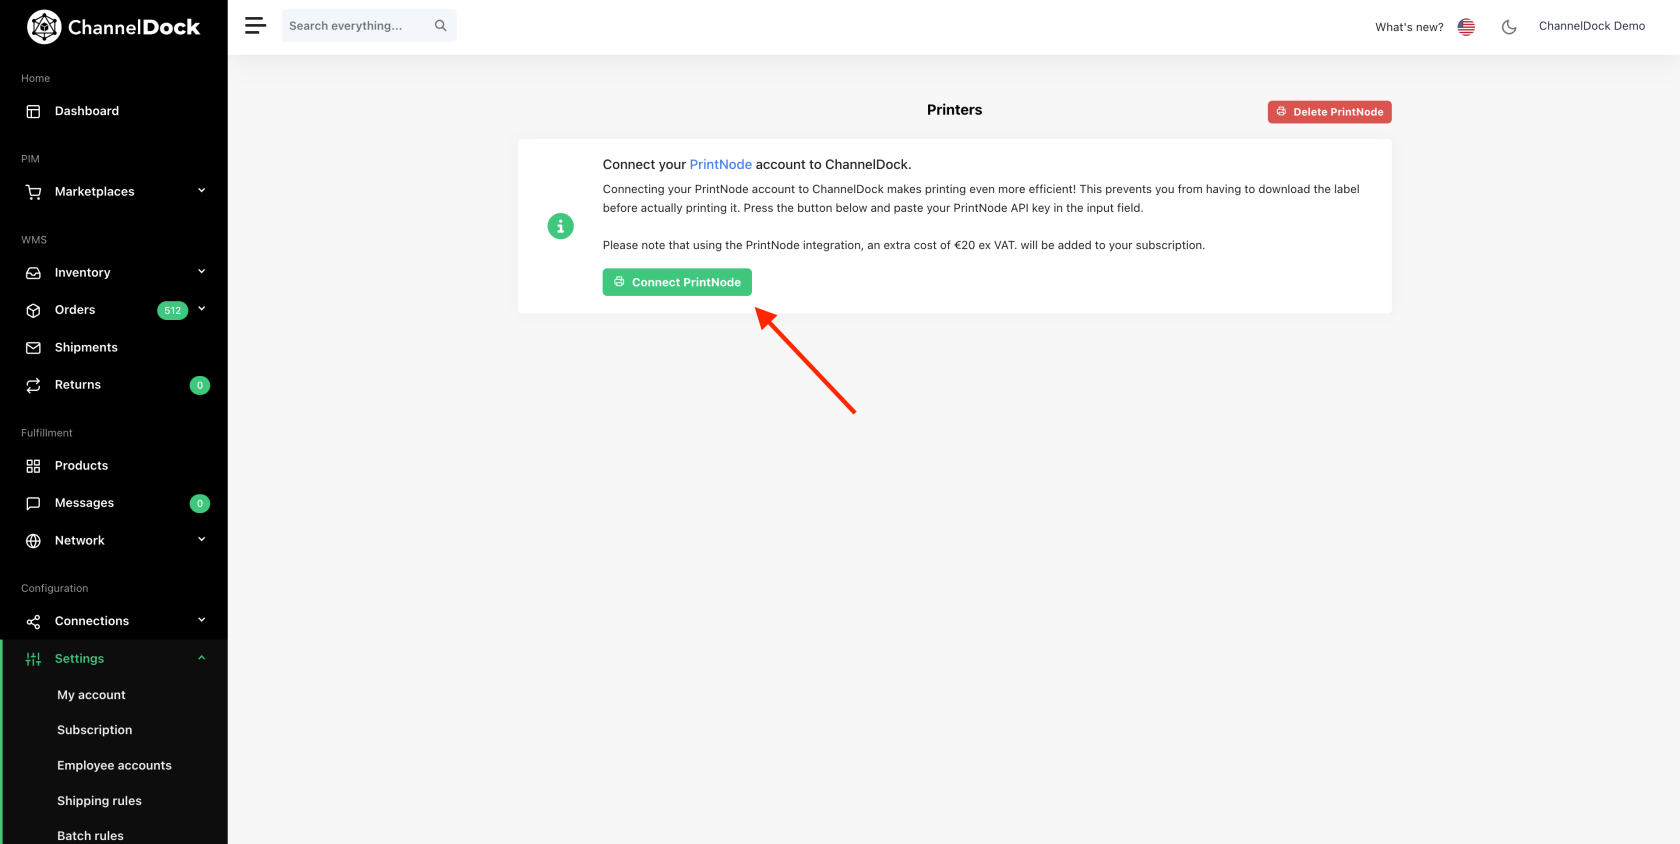
Now you can connect PrintNode to ChannelDock:
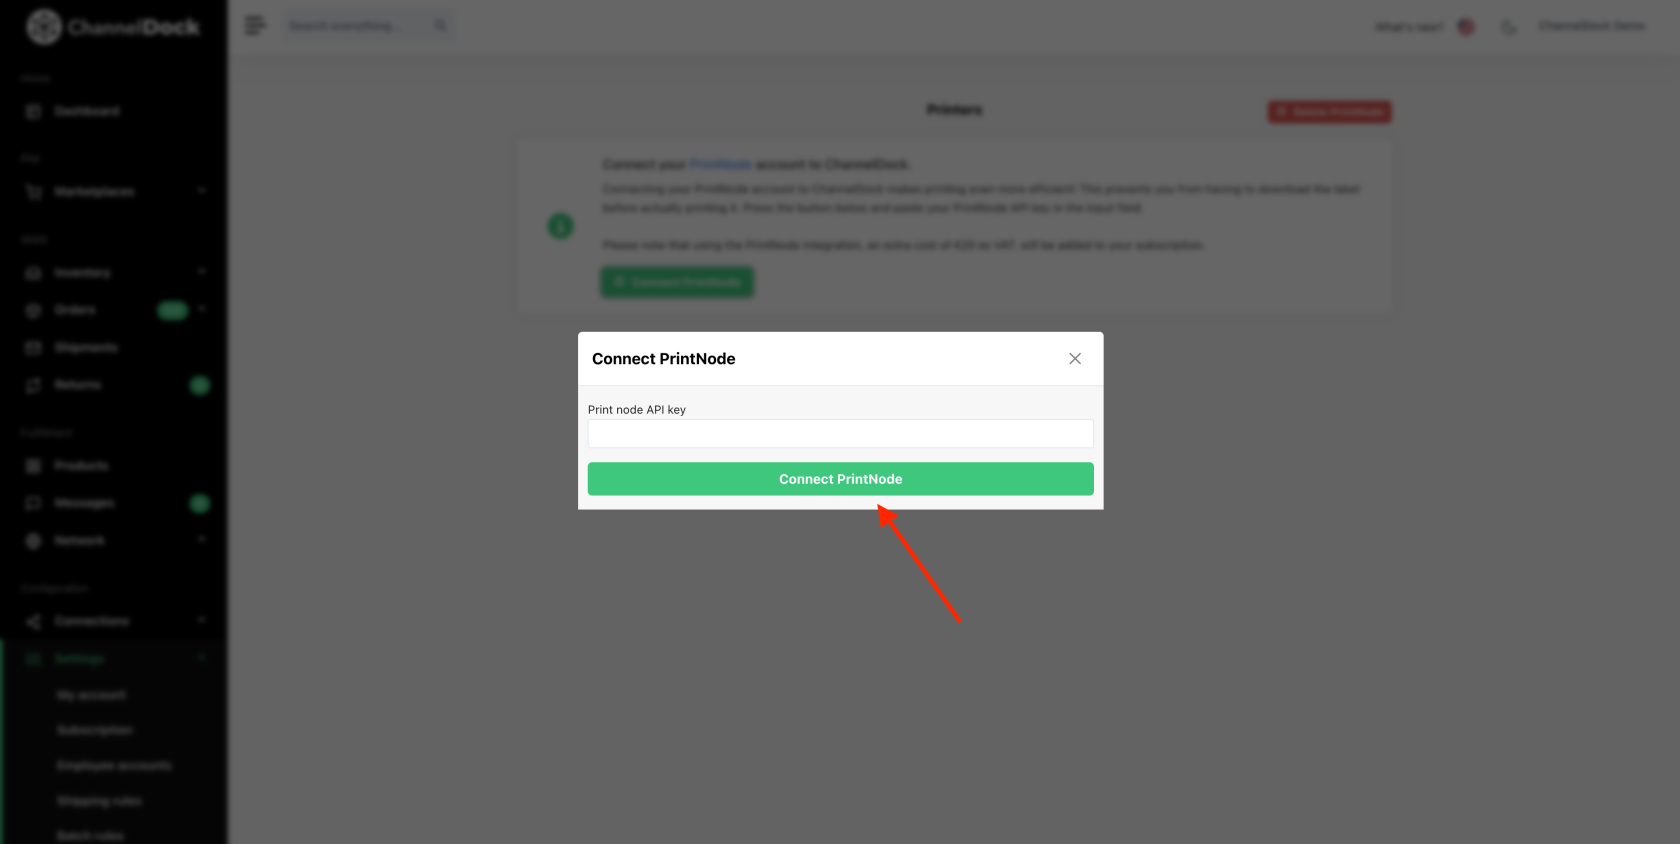
2. Type in or paste your API key and click 'Connect PrintNode'.
Your PrintNode account is now successfully linked to your ChannelDock account.
Troubleshooting
If you are printing through the PrintNode Client on macOS, follow these steps to resolve common issues:
- Set Printer Dimensions to -1: set both the width and height parameters of your printer to -1. This can be set in the "Printers" tab of the PrintNode Client. Try printing with both printing backends (Engine5 and Engine7). To set the printing backend, use the drop-down list in the "Printers" tab of the PrintNode Client.
- Specify Document Size: In the Printers tab of the PrintNode Client set the width and height parameters of your printer to your document size. Try printing with Engine5 and Engine7.
By following these steps, you can resolve printing issues and ensure seamless integration between ChannelDock and PrintNode. For further assistance, feel free to contact support.


