Warehouse mapping
ByWith mapping yourChannelDock’s warehouse inmapping, ChannelDock,you’ll youhave willclear never again lose trackvisibility of your products by being able to see at which location(s) a product is locatedlocations and how many pieces arequantities in each stock location.area. This also enables ChannelDock can thereforeto generate an optimal walkingpicking route through your warehousewarehouse, whenimproving pickingorder yourfulfillment orders.efficiency.
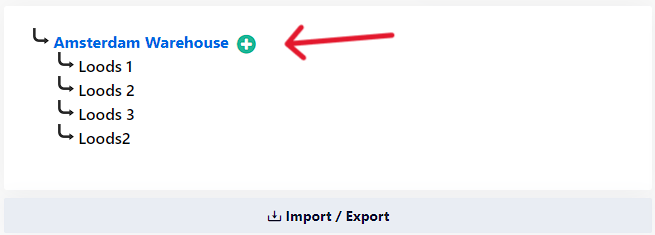
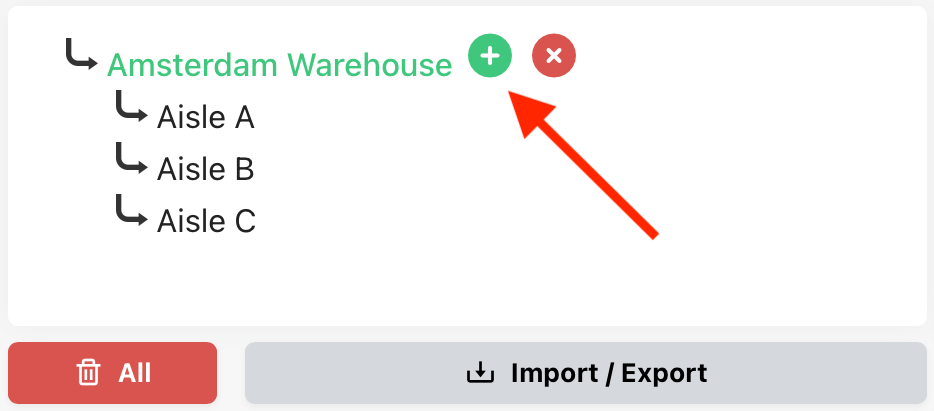
CreatingCreate manual stock locations
YouSection canName
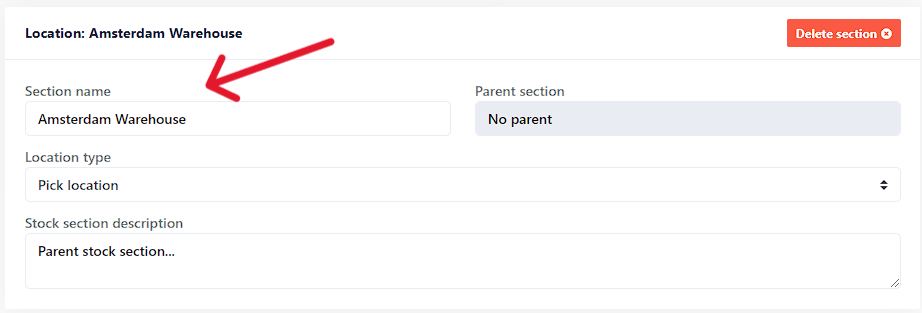
To edit the name of a specific stock locationlocation’s byname, clicking onselect it and then editenter the new name in the field: "'Section name":
YouLocation canTypes
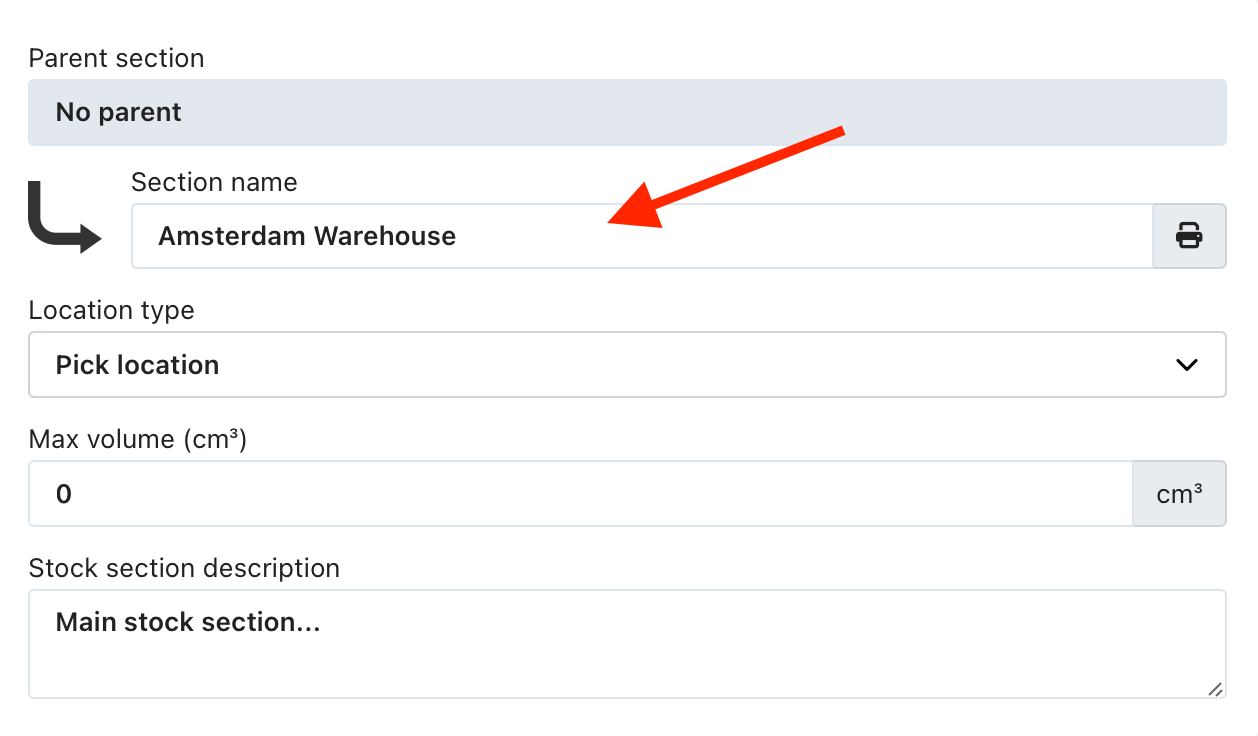
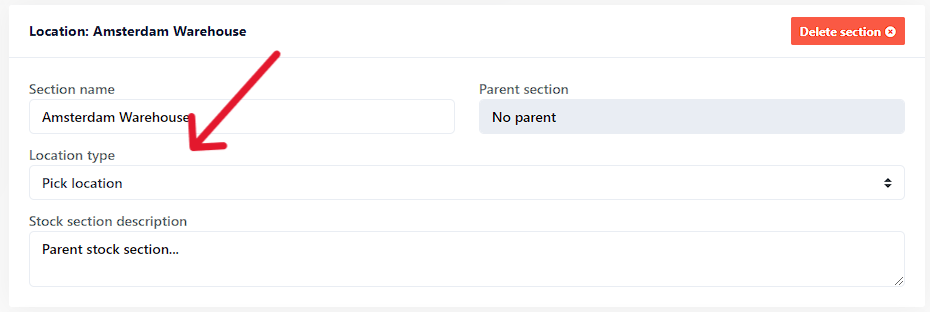
Specify the "Location type".type Whatto you select here determines, among other things, the loop routehelp ChannelDock willgenerate generate.efficient Here,picking youroutes:
- Pick
location'Location:orUsed'Storagewhenlocation'.picking orders. If a product is available in multiplestocklocations, ChannelDockwill chooseprioritizes the pick location with the leastamountstock. - Storage
stockLocation:first. IfWhen no pick locations areavailable for that product,available, ChannelDockwill chooseselects the storage location with the leastamountstock.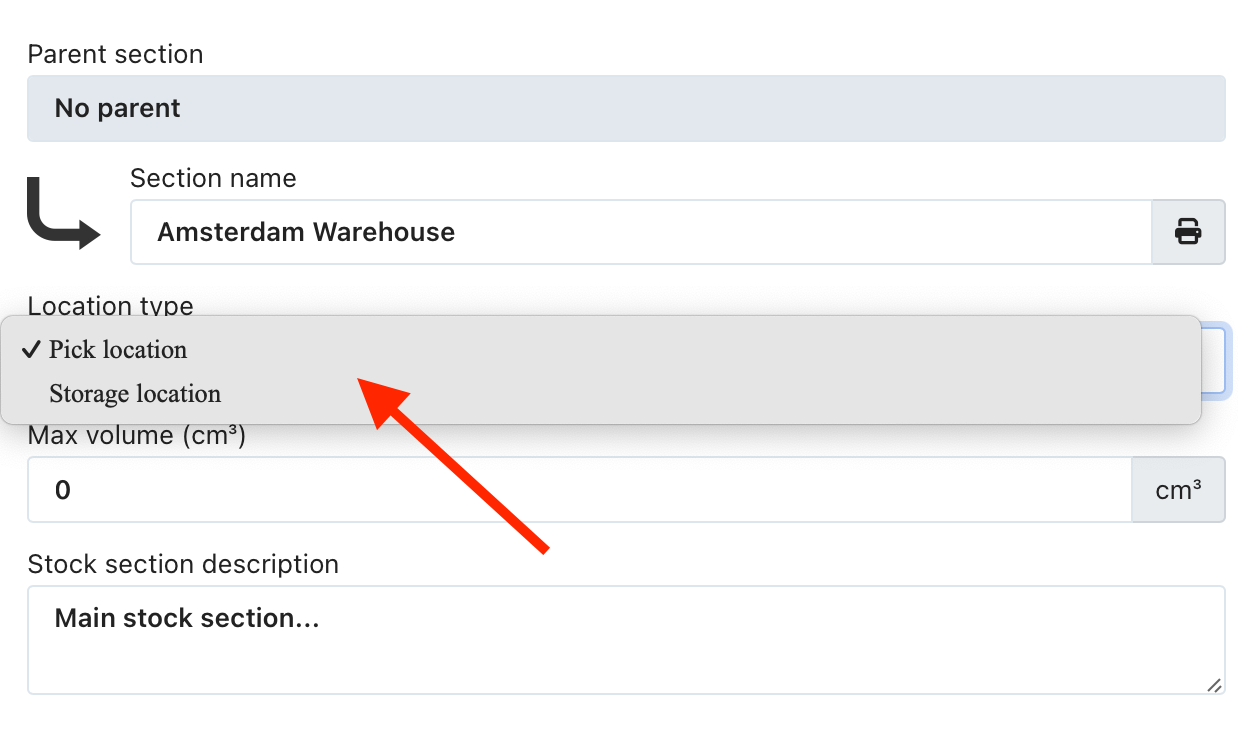
Every day, ChannelDock generatesprovides newdaily advisoriesrecommendations onto replenishingreplenish pick locations from storage locations.areas. These advisoriesYou can beview foundthese viaon the stockStock adviceAdvice page.page.
BulkVolume way:and description
IfYou youcan havealso set the maximum accepted volume for this stock location and add a largerdescription.
Create stock locations in bulk.bulk
For clickinglarger onwarehouses, bulk import of stock locations saves time. Here’s how:
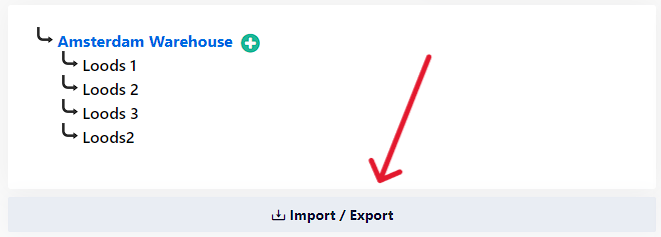
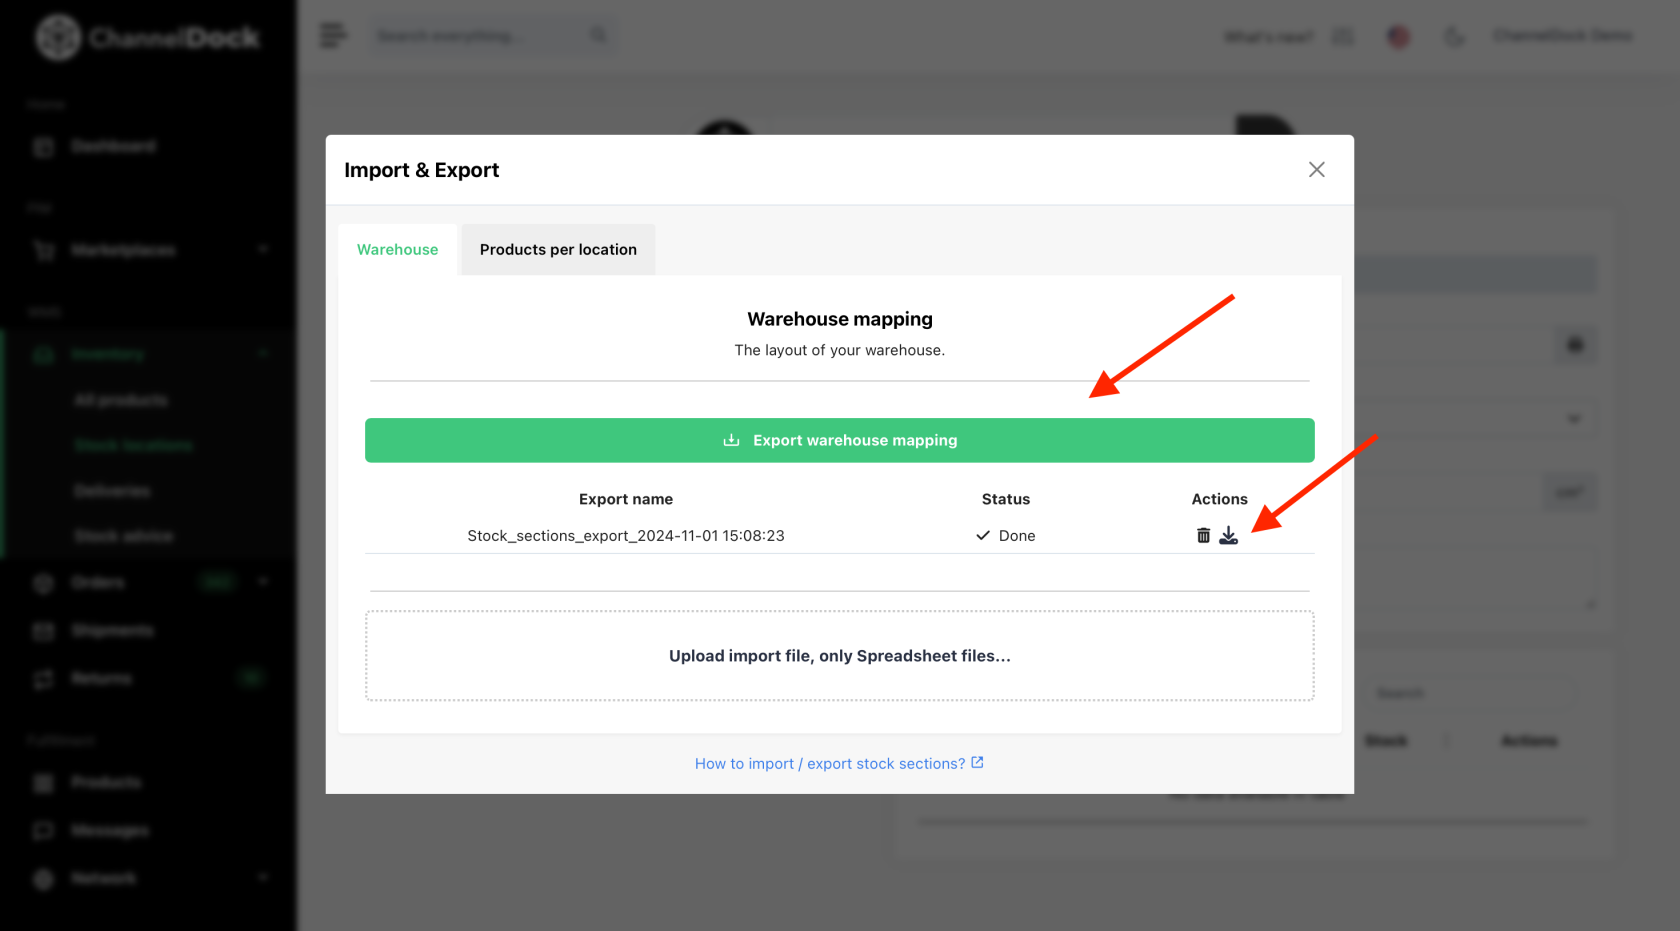
1. Go to Import/Export, click Export Warehouse Mapping in the ImportWarehouse /section, Export button:
Thenand download the importfile file:
Open2. the downloaded file and fillFill in the followingthese columns:
ID:ID:You may make up your ownAssign uniqueIDs (integers, numberinteger valuesonly)forneweachlocationslocation.- Parent
ID:ID:MustMatchmatchthisonewith the ID ofthea'ID' fields of other locations. This is the relationship of the stockparent location tothecreateparentlocationstockhierarchies. - Title:
name”.Title:This will fill inSets thefield: '“Sectionname' - Description (optional):
OwnAddannotationnotesyouorcandetailsaddifneeded.
- Storage
cost:Cost: Onlyrelevantforiffulfillmentyoucenterhaveaccounts. - Pick
location:Location:EnterUse"1"“1”orfor"0" here. 0 = Storage location, 1 = Pick locationAfter you have filled in each column and added all your stockpick locations andput“0” for storage locations. - Max Volume: maximum volume in cm3.
3. Upload the IDscompleted under the correct Parent IDs then you can upload the file:
After the upload,file. ChannelDock will showconfirm the number of updated locations.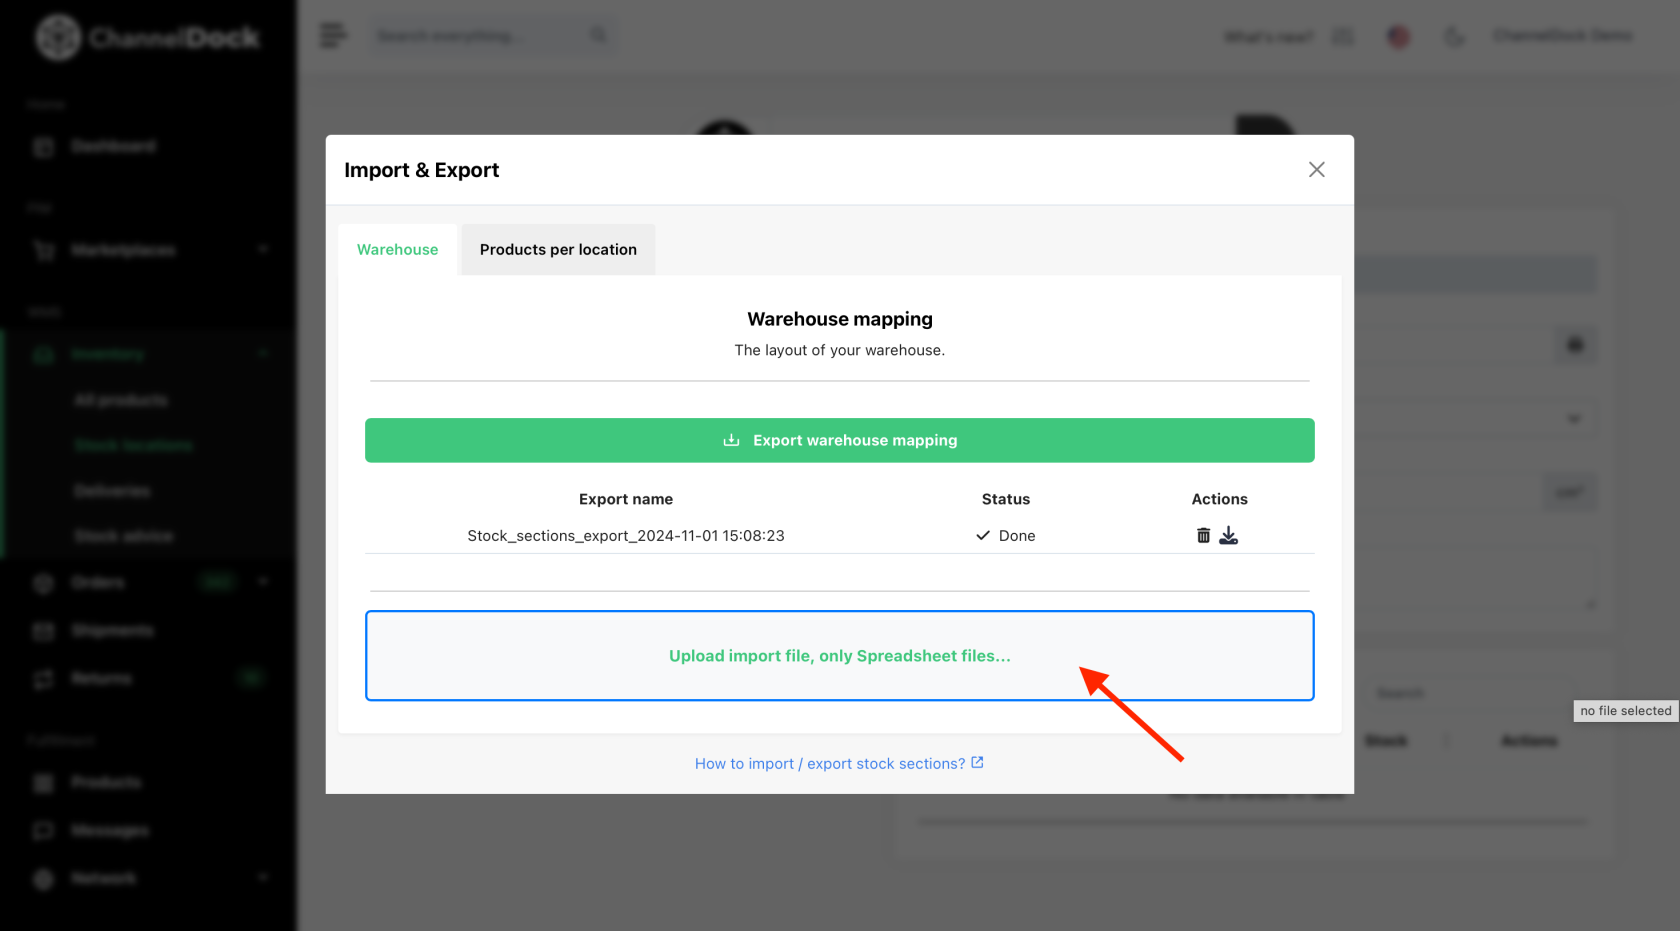
Assign products to a notificationlocation how many locations have been updated.
Setting up a stock location
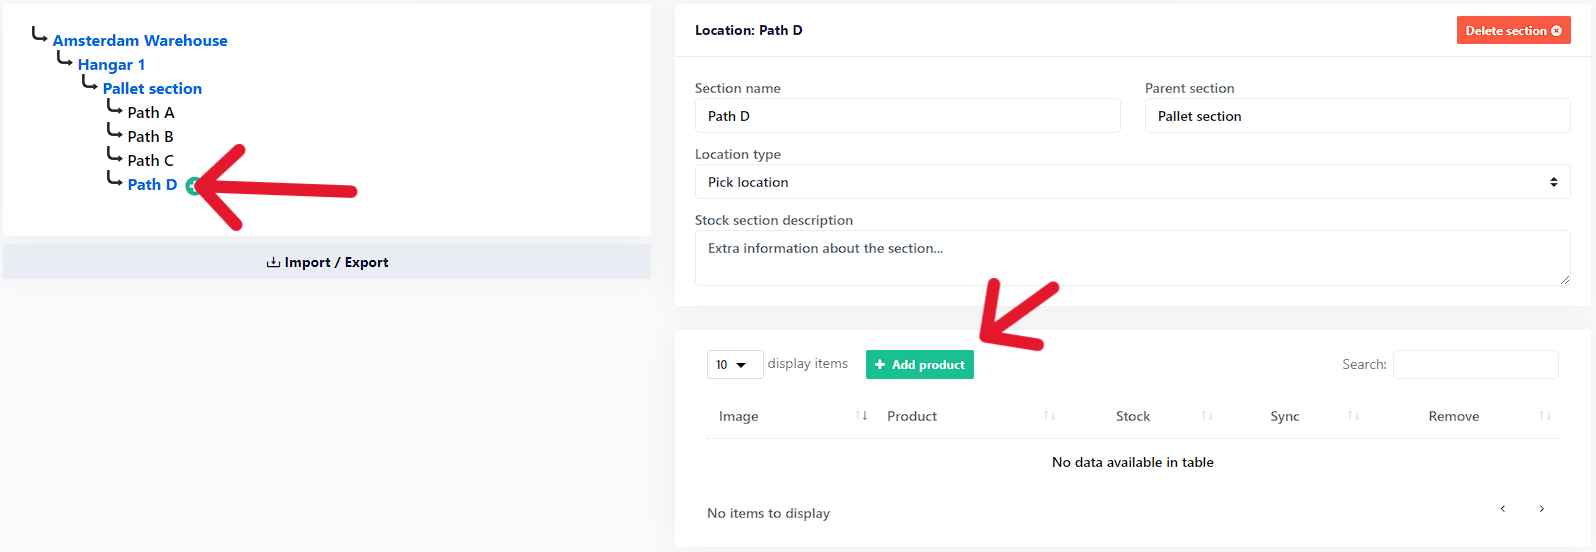
To assign a product to a stockspecific location,location clickmanually, 1: onselect the stock location youand wantclick the productAdd underProduct button: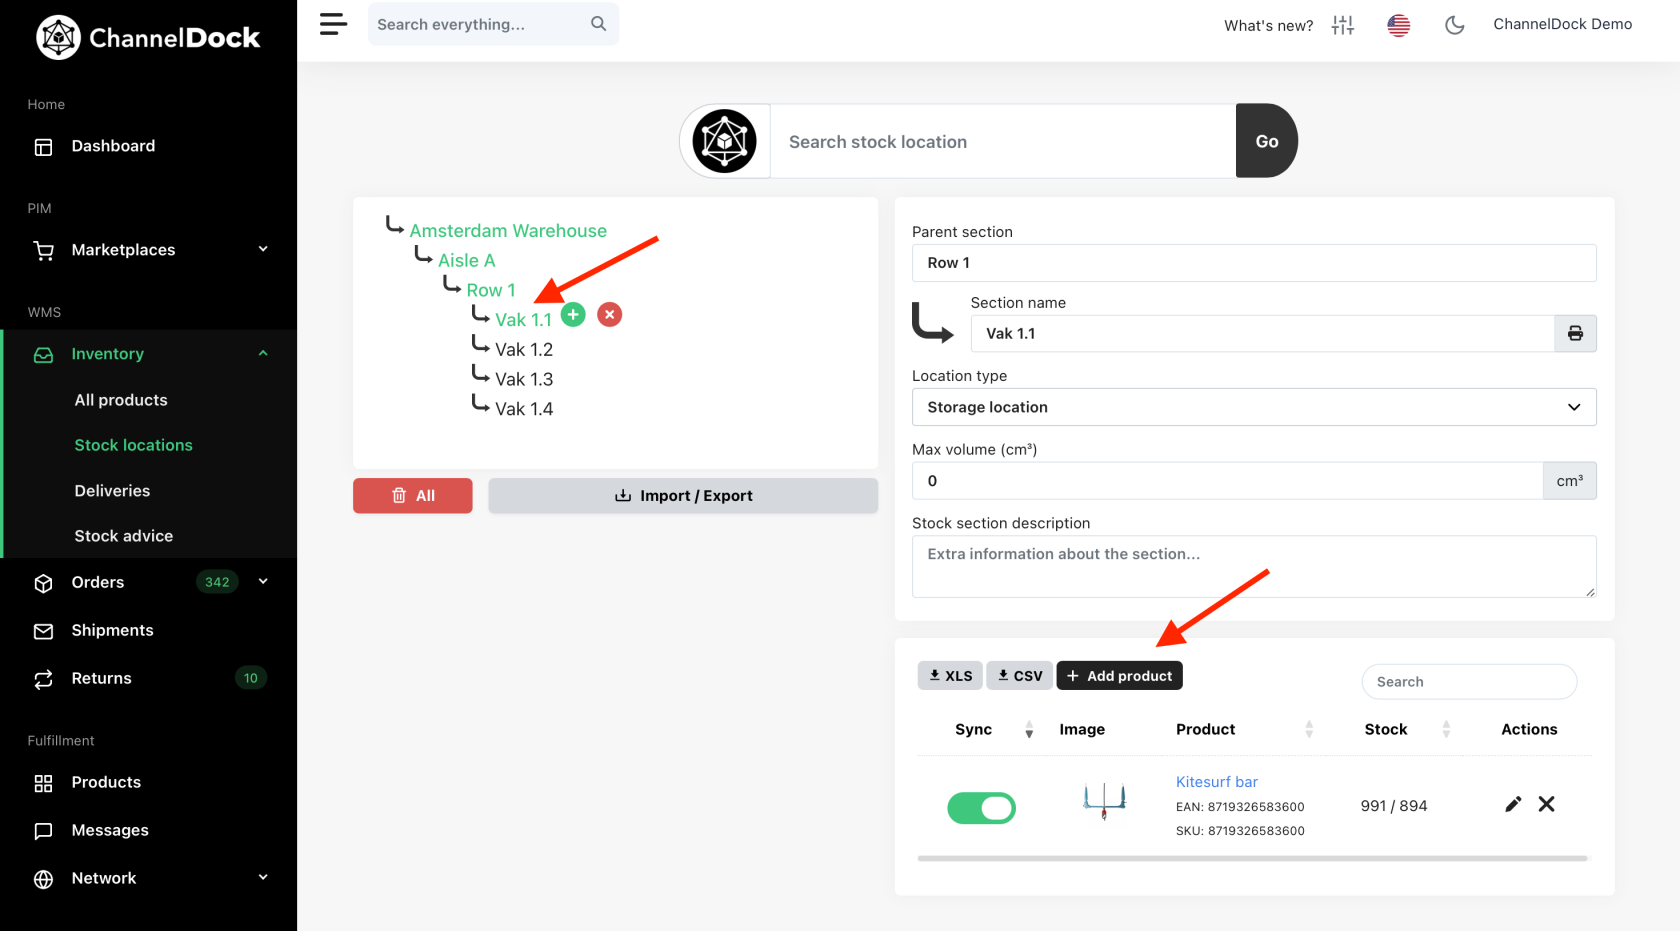
Assign products to a location in bulk
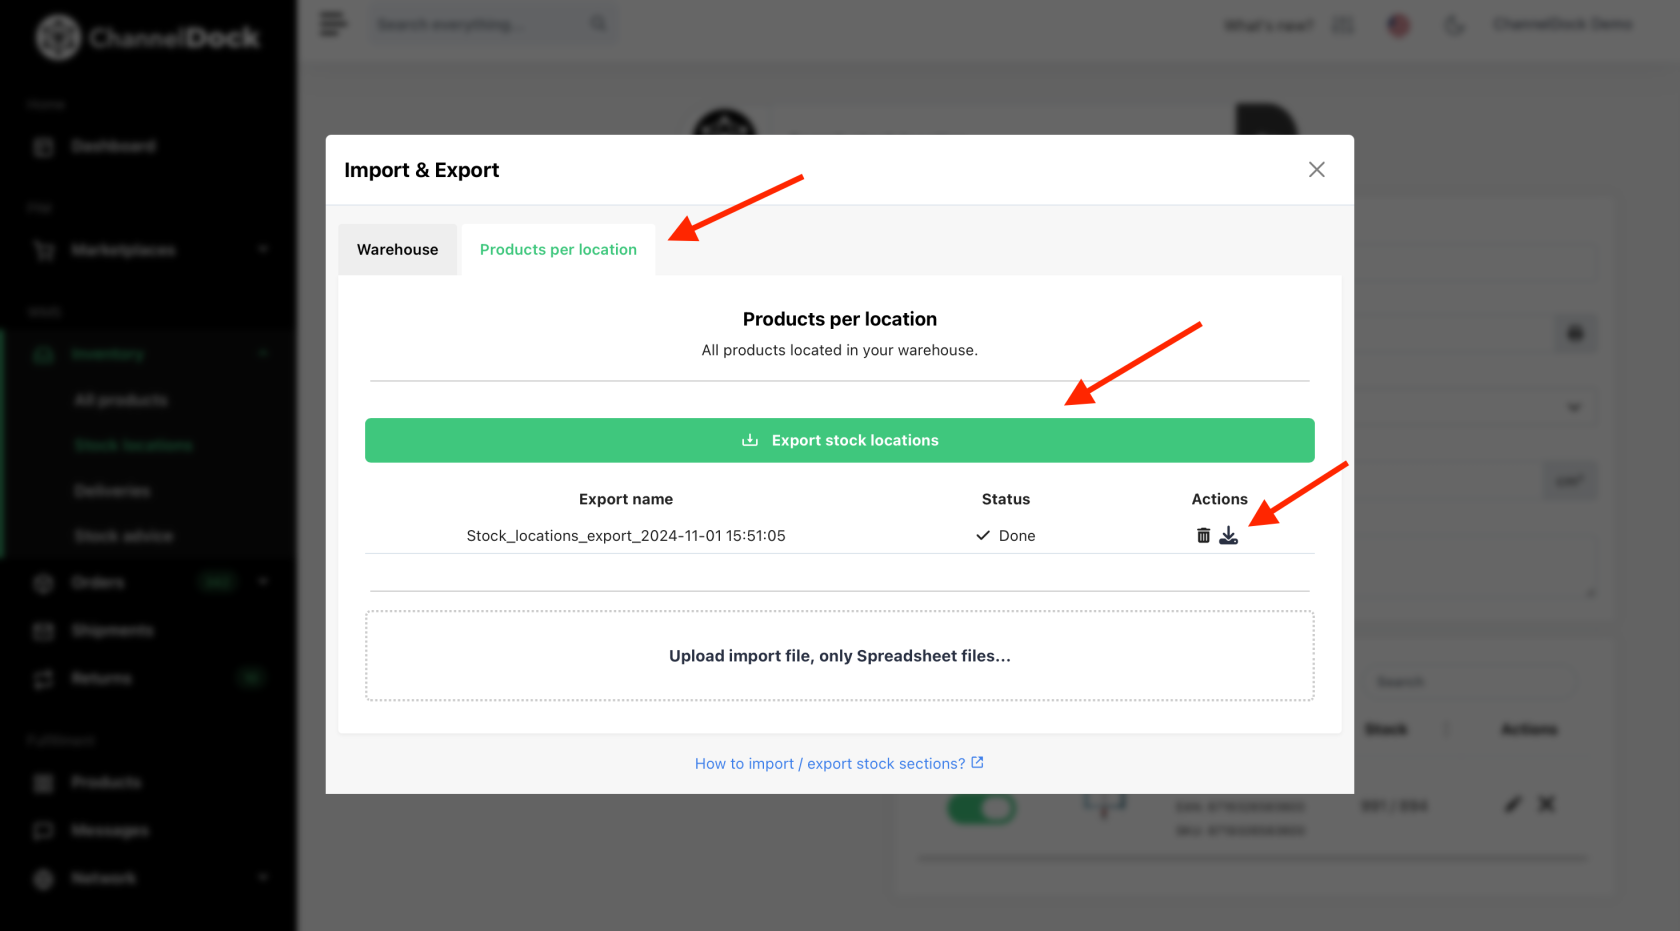
- Go to Import/Export, click Stock Locations in the Products per locations section, and
then pressdownload thegreenfilebutton:fromAddtheproduct.Actions
Pick and pack route generation
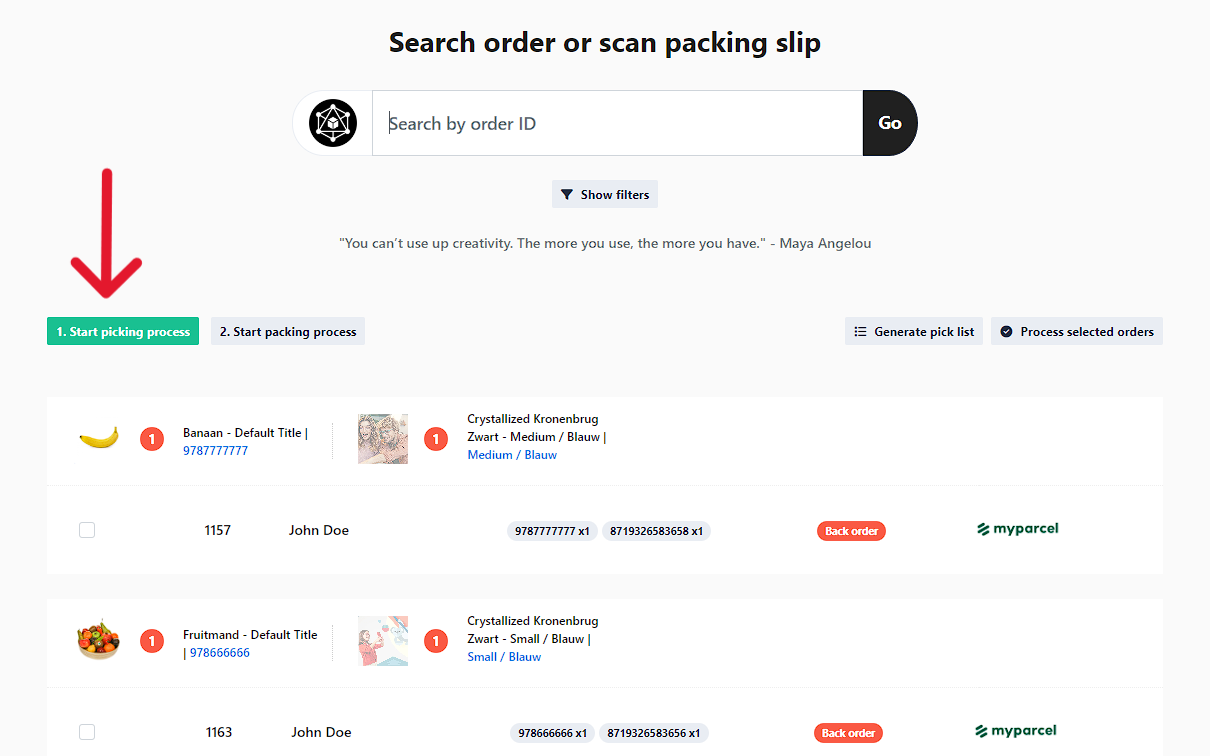
Now that you have mapped your entire warehouse in ChannelDock and added products in the correct locations, you can start generating pick lists for all your open orders via Orders > Pick & Pack. You do this by pressing the "Start the pick process" button:

