Mapping your warehouse in ChannelDock
Why use stock locations?
By mapping your warehouse in ChannelDock, you will never again lose track of your products by being able to see at which location(s) a product is located and how many pieces are in each stock location. ChannelDock can therefore generate an optimal walking route through your warehouse when picking your orders.
Creating stock locations (manual and bulk)
Handmatige manier:
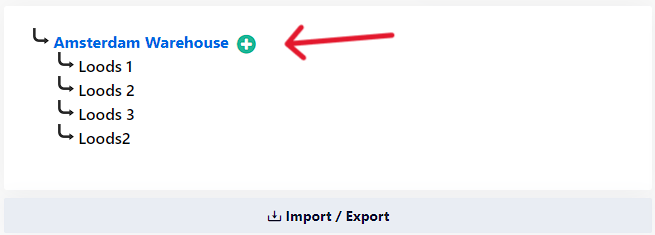
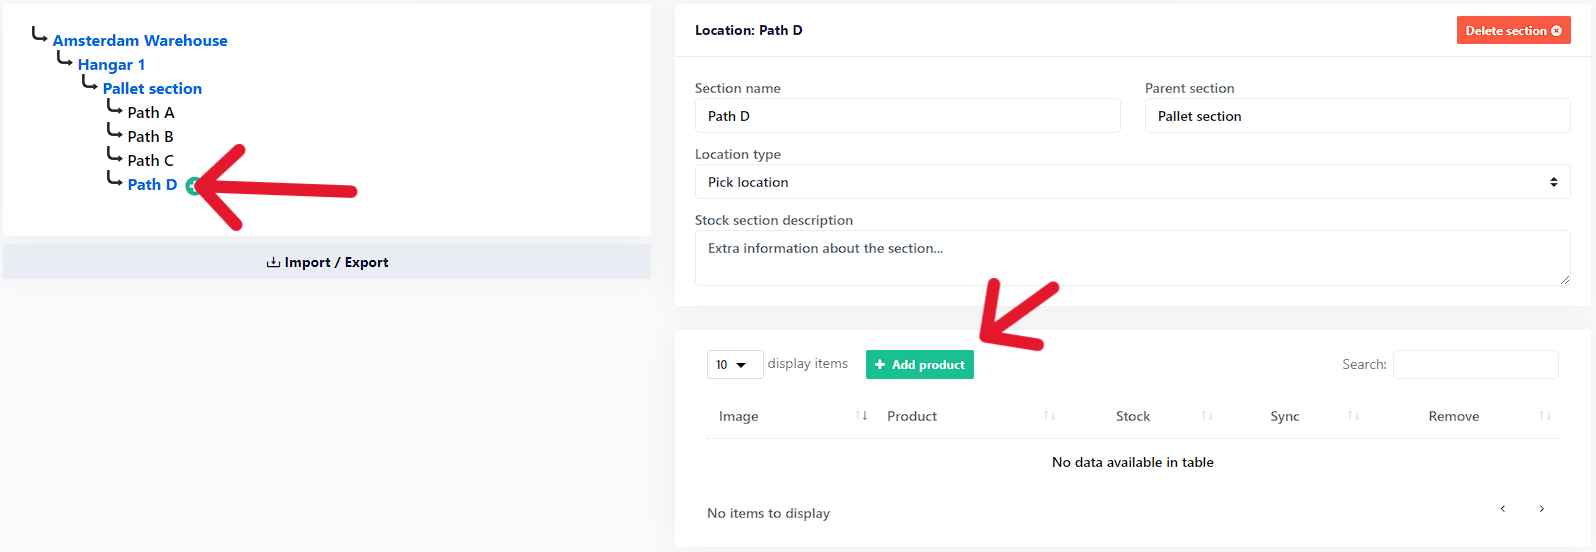
On the stock locations page (Stock > Stock locations), you can create as many (sub)stock locations as you want by pressing the green plus icon:
Each time you press the plus button you create a sub-stock location that will be linked under the currently selected location.
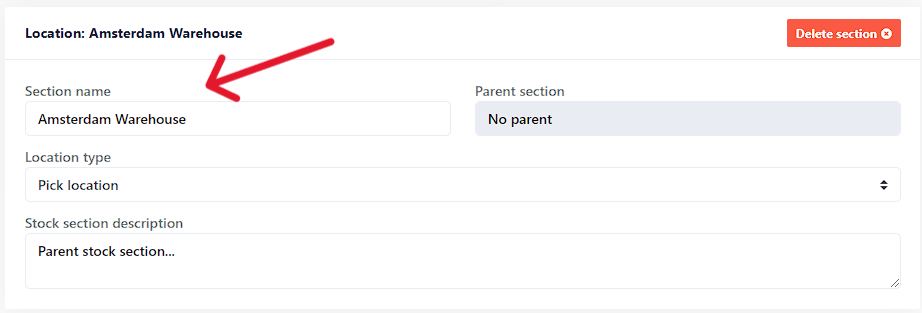
You can edit the name of a specific stock location by clicking on it and then edit the name in the field: "Section name":
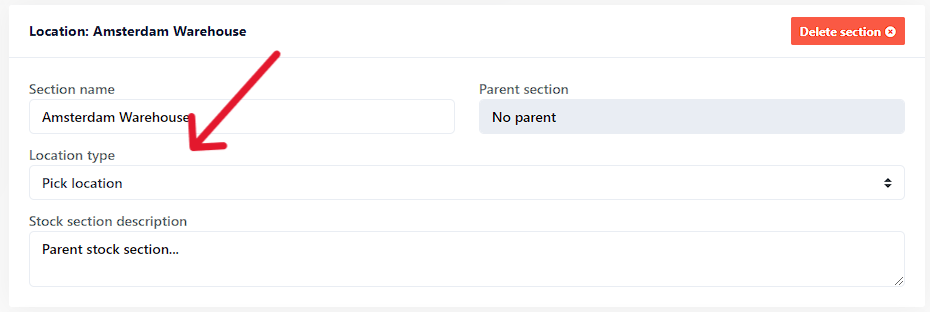
You can also specify the "Location type". What you select here determines, among other things, the loop route ChannelDock will generate. Here, you can choose from 'Pick location' or 'Storage location'. If a product is in multiple stock locations, ChannelDock will choose the pick location with the least amount of stock first. If no pick locations are available for that product, ChannelDock will choose the storage location with the least amount of stock.
Every day, ChannelDock generates new advisories on replenishing pick locations from storage locations. These advisories can be found via the stock advice page.
Bulk way:
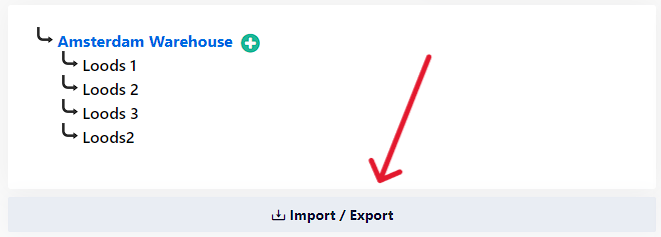
If you have a larger warehouse and don't want to add locations 1 by 1, you can choose to import your stock locations in bulk. By clicking on the Import / Export button:
Then download the import file:
Open the downloaded file and fill in the following columns:
ID: You may make up your own unique IDs (integers, number values only) for new locations you want to create.
Parent ID: Must match one of the 'ID' fields of other locations. This is the relationship of the stock location to the parent stock location.
Title: This will fill in the field: 'Section name'
Description (optional): Own annotation you can add
Storage cost: Only relevant if you have a fulfilment centre account.
Pick location: Enter "1" or "0" here. 0 = Storage location, 1 = Pick location
After you have filled in each column and added all your stock locations and put the IDs under the correct Parent IDs then you can upload the file:
After the upload, ChannelDock will show a notification how many locations have been updated.
Setting up a stock location
To assign a product to a stock location, click 1: on the stock location you want the product under and then press the green button: Add product.
Pick and pack route generation
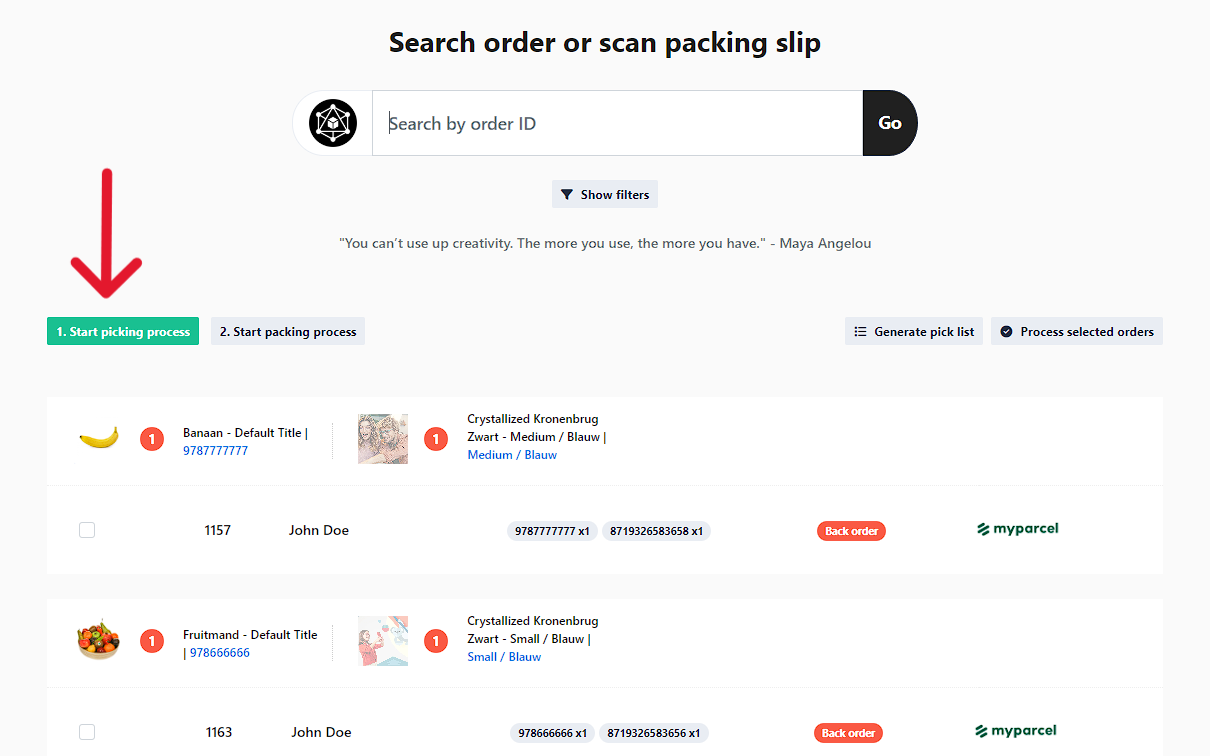
Now that you have mapped your entire warehouse in ChannelDock and added products in the correct locations, you can start generating pick lists for all your open orders via Orders > Pick & Pack. You do this by pressing the "Start the pick process" button:

